2013年4月25日木曜日

Tire Cleaning

In today's episode, I would like to introduce how I wash and clean the aluminum die-cast wheels.
うwっtっっdせzsrcvrっv

My Sportster (XL883 2006 model) has a pair of aluminum die-cast wheels.  The rim/edge of the whlees are polished, like other aluminum parts used on the bike, but the spokes are pearskin-finish (rough-matte finish).


I haven't washed my wheels for a long time. They get dirty quickly and usually take a lot of time if I wanted to clean them up fully.  This past weekend, I found sometime to spare so I have decided to shine them up before I go to motorcycle trip end of this month.

You can see how I was lazy for the last 3-4 months from this photo...


The bottom of the front rim, where rain drops and dirt stay, especially gets dirty.


Axle/Hub is where tough to reach by hands and clean.  There are some black spots and stain which don't come off easily.


I always wonder those black stains and spots are rust or break-dust.  Either way, probably takes a lot of work to clean them.

As well as rim of the back wheel, there are some water-spots and stains (most likely aluminum rust).  As this bad, most of shampoos or cleaners won't work.


Even the brake disk was rusted...


Well, let me show how I clean them up!  

(This is my own way to clean.  It works for me but if you want to try, please do it at your own risk!)

Here are the tools I use.  The blue brash is for washing shoes and can be found at any 100-yen store.  This helps me to clean the hub and axle where is very difficult to reach with hands. A brass wired brash is for the stain and rust, but it takes forever to clean entire wheel with this so I only use partially.  What I like the most and my secret weapon is a steel wool (in Japanese, Bon-star).  This particular one has cleanser instilled.


The first step is to wash off dirt with lots of water.


Next, I use the steel wool (with cleanser) and also use a brush.  I also use the steel wool to clean brake discs too.


Usually, this is all I do and clean enough to me, but this time I will shine them up more.


I often use a wheel cleaner as well.  This helps to wash the section my hands nor brash cannot reach.


The steel wool works on the rust on brake discs very well.


It looks OK but still dull if you see closely.


You can shine them up with the steel wool only but takes lots of effort and time.

What I do is to use the steel wool AND an abrasive compound.  I use a "Pikaru".  This Japanese compound for metal/aluminum is inexpensive and can get it from any supermarket.


Use your fingers push against the rim and polish.  Constantly wipe it up and check how it is.  Keep polishing up until it shines up.


And this is the result!


Not bad.  You can have shiny wheels without buying an expensive cleaner!  


Have a nice G.W. holidays!


If you enjoy this blog, please click the below icons for blog popularity ranking.

Thanks!

にほんブログ村 英語ブログへ にほんブログ村 バイクブログ キャンプツーリングへ

Please also visit my other blogs:


2013年4月9日火曜日

How to Start a Motorcycle Camping Trip ("Camp-touring") #2

In this episode, I would like to talk about camping gears and tools I have in addition to the "5 must-have-items" I introduced last time.

There are so many tools/gears available to make your camping trip more comfortable and enjoyable.


Since "camp-touring" on motorcycle limits the amount of luggage you can take, you will need to carefully select what you want to bring with you.  Also, 
enjoy "riding" to the camping site is another goal for us, we want to pack small and minimize the effect to drivability/maneuverability.

Selecting the tools/gears for the camping trip is actually my favorite part of the camp-touring.  Thinking about trying out a new tool (toy!?) I got online before the trip, what to cook, what kind of   local drinks available in the region I am going to...etc; I really enjoy the preparation process. 


The 5 must have items are the following:

1. Tent
2. Sleeping bag
3. Sleeping pad
4. Lantern/flashlight
5. Bug repellent


(The top black bag is my main tent, Coleman Phad X3.  2nd one is Coleman Avior X2 tent.  Green bag is my Coleman Compact Inflator Mat II L sleeping pad.  Orange bag is a NANGA down sleeping bag)


To set up a tent, you will need a hammer and pegs.


My lantern (Micro-quad lantern by Coleman) and headlight.  Don't forget bringing extra batteries.


Here are the rest of tools and gears I have (for one-night camping trip).

- Tarp or ground-sheet for tent (blue tarp)

I lay this under the tent to prevent damage of my tent's bottom and moisture from the ground.  My tent (and most of tents) has waterproof bottom but it still gets wet sometime.  Using a tarp makes much easier to dry and clean-up the tent next day before you put it away.  The one I have is know as "blue-sheet" in Japan.  It is about 200-500 yen and you can find in many stores.

- Portable table (Red bag)

This is  by a Japanese camping/outdoor manufacture, Snowpeak.  This low-table is perfect for small chair and sitting on ground.   Its photo is at the top of this episode.  

- Portable chair (camouflage-printed bag)

I prefer to have a larger chair (with armrest) but it is too large to load it on my motorcycle (some people still bring though).  This folding chair, as you can see in the photo, can be packed so small.  At the camp site, I often sit on the picnic sheet and use this chair as a small table.

- Portable windshield (silver rectangular metal above the sandals)

*This windshield is for a camp stove.  It make a big difference in windy condition.  I always bring this just in case.

- Picnic sheet (roll-up checkered one)

This is by Coleman.  The size is just right for one or two person (140 x 90 cm).  The backside of the sheet is waterproof.  Eat, drink, read, lay dawn and take a nap... how nice!

- Sandals

It is more comfortable wearing those at the camp site and also makes easier to go in and out of tent.

- Hanger

I use this to dry towels and gloves or other riding gears if they get wet.  And of course it can be used to hang your jacket.


- Camp stove
Two major types used for camp-touring: cartridge gas and fuel (white gasoline or regular gasoline).  I recommend the gas type.  It is easy to use and very small when it is packed.

- Pots, pans
You can find variety of pot/pan cook-sets in diffident shapes and sizes. Most of them are stackable.  I use them as dishes too.

-Cup or mug
I bring a mug-cup and use this for my coffee, sake, wine, soup... everything.


- Pot / Mess Aluminum Tin (aka mess-tin) by Trangia
This simple aluminum rectangular-shape cooking pot is very nice.  I use this to cook rice.  Because of its shape, you can store small cooking items inside very well.

- Dish soap
I bring it in a small container (I am using a small plastic bottle with a top and I think this is for cosmetic use, originally) and also use a eco-friendly one.


-Water jug
I use a foldable water bottle/jug by Platypus (2 litter).  You can also use a pet-bottle
-Wine container
This is also by Platypus.  You can save some room and also do not worry about trashing empty bottle (many camping sites ask you to take your trash home with you). 

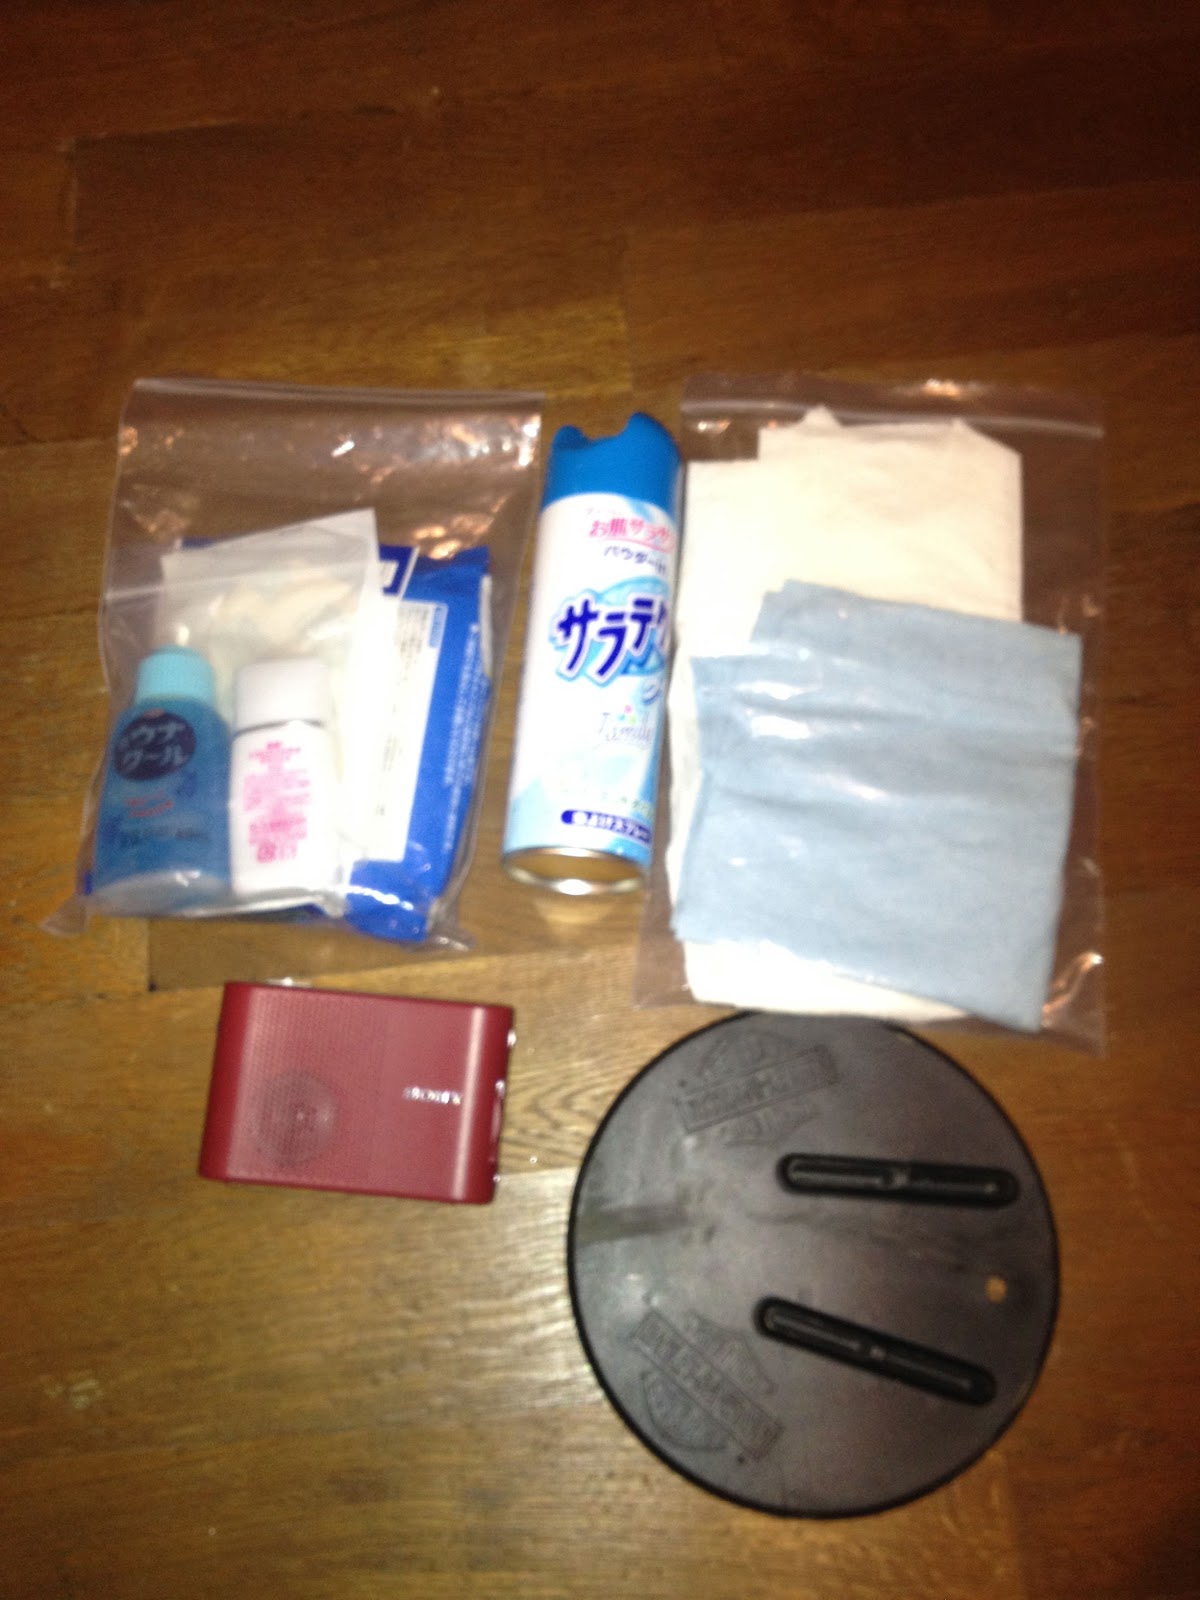
- Bug repentant, insect bite reliever, alcohol wipe, band-aide...etc

- Radio
I love listening baseball game on radio.  Also, you can catch a weather news where there is no mobile phone signal.

- Motorcycle Kick Stand Coaster (bottom right on the photo)
I recommend taking this to a camp-touring.  Motorcycles are heavy pieces of machinery and unless you're on concrete, the kick stand might slowly dig into the ground overnight because of the weight and your motorcycle may go down by the time you wake up in the morning. This prevents your motorcycle from tumbling over.  You can also use a piece of wood or rock (make sure it is stable enough).


In addition, I like to bring a portable BBQ grill.  Some Japanese local manufactures make many great products.  Here is one of them and my favorite.  This is made by a small factory, Sho's (笑's).  They make amazingly compact yet tough BBQ grills.  


This grill is [B-6 kun (B-6君)] and can be folded to B-6 size.


The bottom of the grill has some openings with good airflow for a high combustion efficiency.  You can burn some logs or charcoal and enjoy BBQ.  I love buying some meet, fish, and veggies, put them on grill, and enjoy a cigar and good drinks!  Don't forget bringing soy source and crazy salt; they make everything taste good ;-) 


Those items listed above are just examples.  You can bring anything you want as long as the luggage space of your motorcycle permits.  As you go on the camping, you will find out what you need and what you don't use.  More importantly, you will find out what you want NEXT! 


Welcome to the crazy world of outdoor-item shopping!
Soon, AMAZON will be your best buddy.  Enjoy!


If you enjoy this blog, please click the below icons for blog popularity ranking.

Thanks!


にほんブログ村 英語ブログへ にほんブログ村 バイクブログ キャンプツーリングへ


Please also visit my other blogs:


2013年4月3日水曜日

How to Start a Motorcycle Camping Trip ("Camp-touring") #1

I wonder how popular it is to go on a camping trip by motorcycle in other countries.  Camp-touring (motorcycle camping) has been popular among riders in Japan.  


Especially, recent boom for Enduro motorcycles (e.g. BMW GS1200 Adventure, Yamaha Tenere, Triumph Tiger), many riders spend more time in the nature.


An enduro motorcycle is a type of motorcycle designed for a long-range ride with semi- or full off-road capability.  It is a blend of motocross and touring/tourer motorcycles and often those bikes can equip with top- and side-case for extra luggage rooms; suitable for long range ride including camping trip.

I was not so interested in outdoor recreation before, but once I did it, I was hooked.  We have so many locally-brewed sake, beer and wines in Japan, but one-day trip does not let me enjoy them so I have decided to camp.  This way, I can ride during day and enjoy local 
drinks and foods at evening.  Also, this gives me some missions to ride and search for them.

Also, I like looking for camping tools.  I must say it is sometime more fun looking/searching online for new gears.


If you have not gone camping and no idea what to bring, don`t worry. You will need some tools/gears but you won't need lots to start with.


Here are the FIVE MUST-HAVE items for going on a camping trip:


1. Tent

2. Sleeping bag
3. Sleeping pad
4. Lantern/Flashlight
5. Bug repellent

That`s all!  Wait, don't I need more? Yes, you do and you will need or want more later, but for now, the above items are minimal stuff you need to start!


1. TENT

There are variety or types, sizes, and brands.  When you choose a tent, the size is the most important.  Because we are riding, we want to pack as small as possible and not like cars, when we are at camping site we need to keep all of luggage (unless your motorcycle has trunk rooms) inside of the tent at night time and keep them safe and dry.  Most of one-person tents are too small so you want to choose the number of person camping plus one.  If you are going a solo camping trip, you want to choose at least a 2-person tent.  For 2 campers, a 3-person tent.

A tent with rain-fly or rain cover, vestibule, and ventilation or big windows/entrance would be ideal for Japanese climate especially during summer.


My tent is [Phad X3] by Coleman.  The capacity is 3-person and has a large size vestibule, which provides a plenty of space for 2 people with full of luggage comfortably.  I also appreciate its packing size; 20 x 40 cm (3.95 kg) is a very compact for this size of tent.  A weak point is its ventilation.  There is only one entrance/window so if you set it up where there is no shade, inside of the tent can be really hot.


I also had a [Coleman AVIOR X2] tent.  This was for 2 person and much lighter and smaller when it was packed, however, I ended up choosing Phad X3 for my main tent because of its height.  X2 was comfortable sleeping inside but its height was low.  I am about 180cm height and 65 kg and had hard time changing cloth inside of X2.

2. SLEEPING BAG
There are two major shape of sleeping bags: mummy type and rectangular type.  For the "touring-camp", I recommend the mummy type.  You can pack this smaller than rectangular type.  Also, the mummy type fits better to body-shape and keeps you warm.

Also, there are 2 major types of materials used: down or man-made fiber e.g nylon.  The nylon sleeping bag is popular because of its price and more varieties available.  If you are not sure you would be going on camping trip often, I recommend this type.  However, if you will be going camping often, down sleeping bag is highly recommended. It can be packed significantly smaller and lighter, yet it is comfortable and keeps you warm.


Sleeping bags have temperature rating.  This rating shows the comfortable temperature zone.  If you are camping only during summer, 7c+ (Celsius) rating would be fine for most of camping sites.


If you are camping 3 seasons (spring~fall), you want to choose around 0 c rating.


I use a down sleeping bag by a Japanese manufacture, NANGA.  This sleeping bag's rating is [-1 c~-6 c] and packing size is [15 x 25 cm].  I used to own a nylon rectangular shape sleeping bag (rating 7 c+, 22 x 35 cm) before.  As you can see, their packing sizes are quite different:


I use this NANGA down sleeping bag for 3 seasons with no problem.  Also, it was a perfect for a camp-touring in Hokkaido.  When it gets cold, you can wear extra sweater or use your riding jacket as an extra cover and/or use some disposal heating pack/hand warmer (Hokkairo ホッカイロ).

3. SLEEPING PAD

Some people might say this isn't necessary, but I say this is the MUST item especially for riders.  Camping site is not flat and often there are small rock and twigs under the tent.  The pad makes it more comfortable and also shuts out coldness coming from the ground during night time (even during summer).  Also, you would be riding back home next day and having a good night sleep and rest are very important for your safety.

In Japan, we have 2 major types.  Roll-up pad and (self-) inflatable air pad.  The roll-up is inexpensive, but it is not compact. Inflatable air pad is more expensive but you can pack it very small.  If you are not sure you will be camping often, I recommend the roll-up pad.  You can find it as cheep as around 1,000 yen (called Gin-mat 銀マットin Japan) at any local outdoor stores.


I use "Compact Inflator Mat II L" by Coleman.  


4. LANTERN/FLASHLIGHT
Most of camp sites will have no lights so you will need lantern/flashlight for anything you do at night time.  It looks awesome to have one of those gas/oil lanterns, but considering the luggage space, perhaps a led lantern is more useful and reliable.  I like using a head-light as well.  It makes both of my hands free when I cook and eat.

My lantern is "Micro-quad Lantern" by Coleman.  
This is great because 4-individual lights are connected to the base when I use it as a lantern and each led light can be taken off from the base and use it as a small flash light.  
The base has four AAA batteries and works as a power station for those small lights and charge.  Battery last for a long time too (probably last 5-6 nights easily).


Now days, you can find a lantern/flash light anywhere with a reasonable price around 1,000~2,000 yen (or sometime less).  Make sure to bring extra batteries just in case.


5. BUG REPELLENT

Japanese mosquitoes are evil....  Without a Katori Senko 蚊取り線香 mosquito coils/incense, you might not be able to sleep because they will be flying by your ear all night.  The mosquito coils works outside too but make sure that you also use bug repellent spray.


Those are the basic tools/gears you need to start camping.  Plus, if your motorcycle does not have a room for luggage, you will need a big bag (waterproof or has rain cover to keep your stuff dry) and/or bungee cable/net to hold them tight on your bike.  Many large size bags designed for motorcycle are also available at stores.


I use [Camping Seat-Bag 2] by TANAX.  


This 59-75 litter size bag is designed for "camp touring".  The size can be adjusted by the side zipper.  Also, I use a saddle bag by DEGNER (12 litter).


It is fun cooking and eating outside but if you don't know how to cook, you can also get some lunch/dinner take out at local restaurants/stores/convenience store...etc.  It is sometime fun to go find the local foods and drinks.

Some big camping sites offer rental tent gears and BBQ/cooking wears.  Also, lots of camping sites often have log house, cabin, tree-house...etc.  


Here is a camping site I recommend for those who are new to camp-touring (this was the site I camped fist time) 


Pica Village, Saiko (Saiko Lake, Yamanashi Pref.)


This is a very clean and well managed camping site and also offers variety of accommodation styles (camping grounds, cabins, log house...etc) and rental gears you need.  Its location is very nice; only a couple of hours from Tokyo city area.

Hope this information will motivate you to go out for camping this year on motorcycle.  It is really nice and relaxing spending in nature and your motorcycle life will be more enriched!


In the next blog episode, I will talk about additional gears and tools for making camping more fun!


If you enjoy this blog, please click the below icons for blog popularity ranking.

Thanks!


にほんブログ村 英語ブログへ にほんブログ村 バイクブログ キャンプツーリングへ


Please also visit my other blogs: